m (→Tiberium: add links and precise tiberium depletion time) |
(→Tiberium: add notes on harvester safety) |
||
| Line 9: | Line 9: | ||
=== Tiberium === |
=== Tiberium === |
||
| ⚫ | |||
| − | [[File:CNCRiv map element tiberium symbol.png|30px]] Each side of the map has four Tiberium patches. When harvested, it increases the [[Battlefield economy (Rivals)##Tiberium|Tiberium income]] and can be minded for a 100 seconds, after it is depleted, it changes to a flatland. Tiberium fields damage infantry units 5 |
+ | [[File:CNCRiv map element tiberium symbol.png|30px]] Each side of the map has four Tiberium patches. When harvested, it increases the [[Battlefield economy (Rivals)##Tiberium|Tiberium income]] and can be minded for a 100 seconds, after it is depleted, it changes to a flatland. Tiberium fields damage infantry units 5 HP per second. |
| + | Location of the Tiberium on the map influences the [[Harvester (Rivals)|Harvester]] safety. Factors that can influence the Harvester safety: |
||
| − | <gallery> |
||
| + | * if Tiberium is close to the spawn point, new units can quickly reach the Harvester to defend it; |
||
| ⚫ | |||
| + | * if Tiberium is near the pads, Harvesters are threatened by the units that contest those pads; |
||
| − | </gallery> |
||
| + | * if Tiberium is at the edges of the map, it's easier to defend, because enemy units can't attack Harvesters while at the same time avoiding defending units. |
||
| + | |||
| + | Compare relatively safe [[Media:CNCRiv Fortress map.png|Fortress]] to the very hostile [[Media:CNCRiv Middle Oasis map.png|Middle Oasis]]. |
||
=== Obstacles === |
=== Obstacles === |
||
Revision as of 16:02, 25 June 2020
|
Prepping blueprints for expansion...
Maps (Rivals) is a stub and needs your help. You can help by expanding it.
Please refer to the talk page for further discussion.
|
Map structure
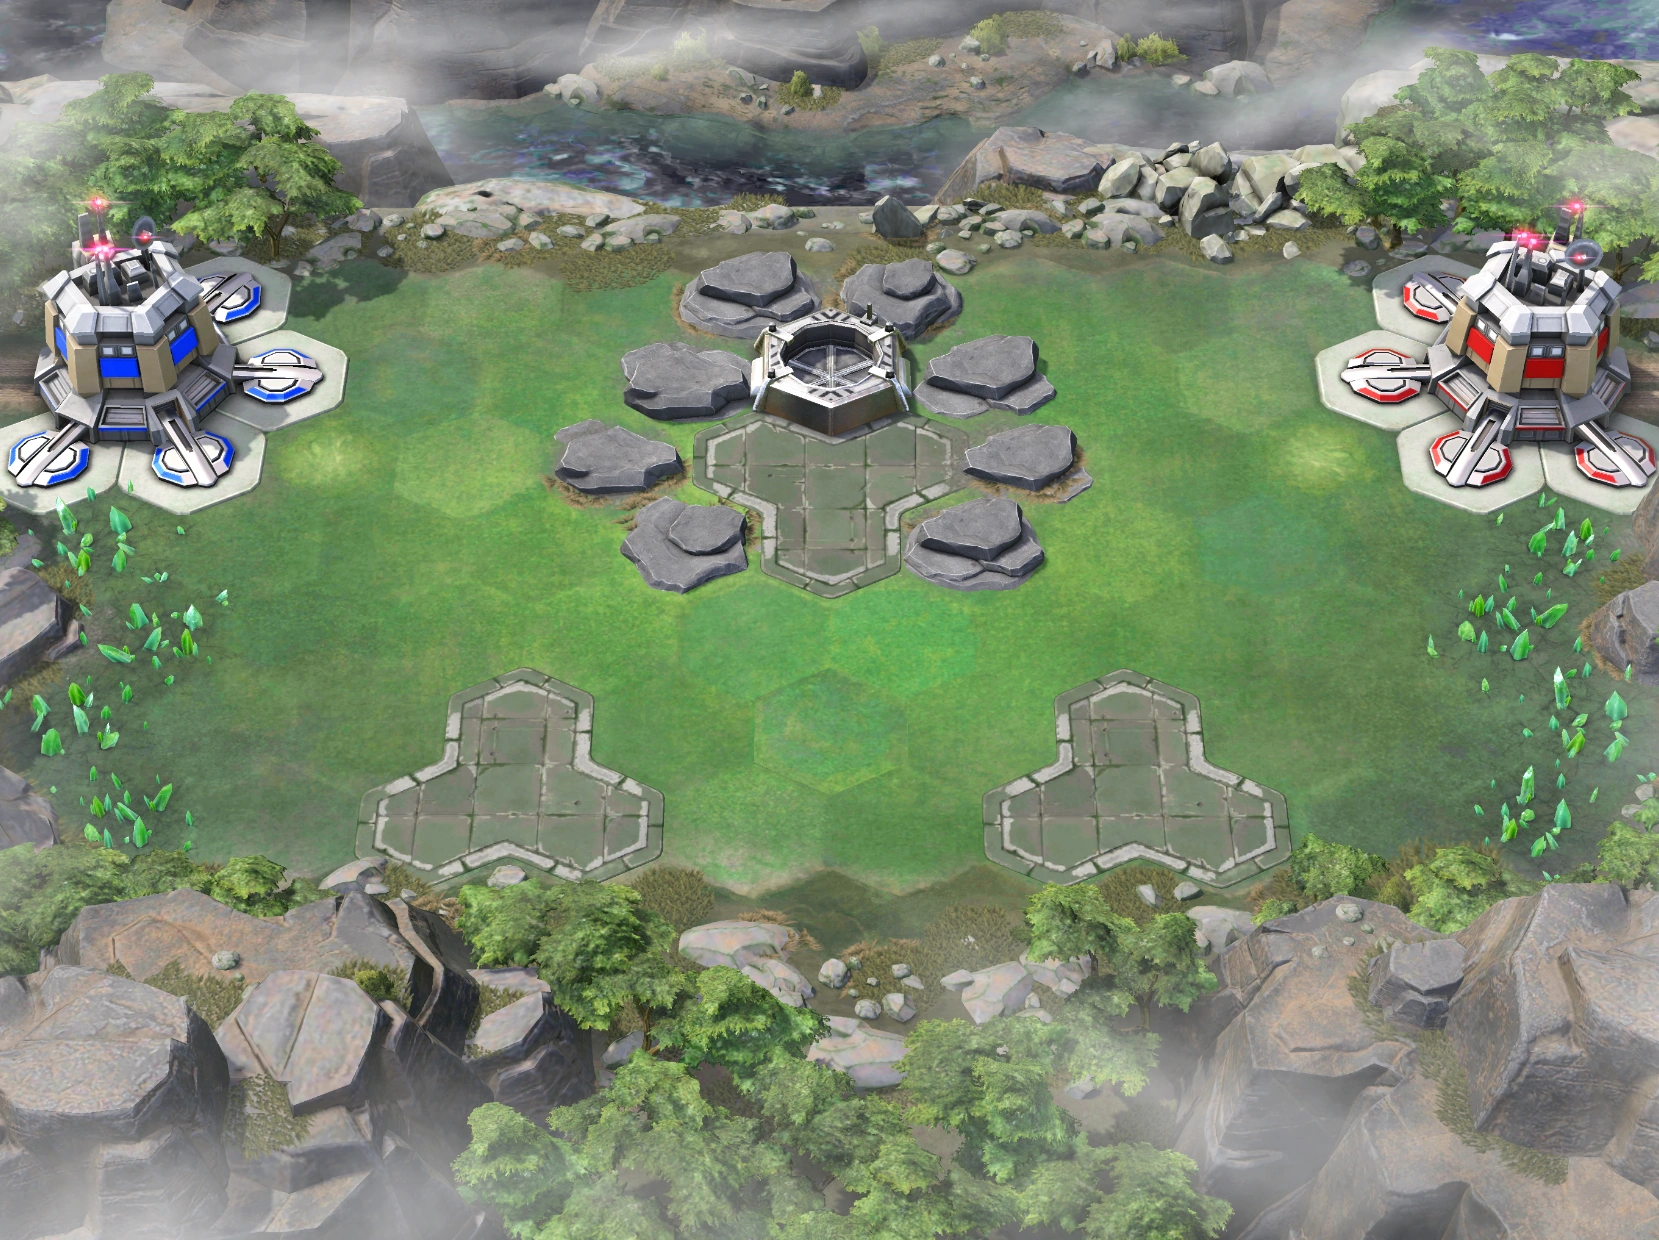
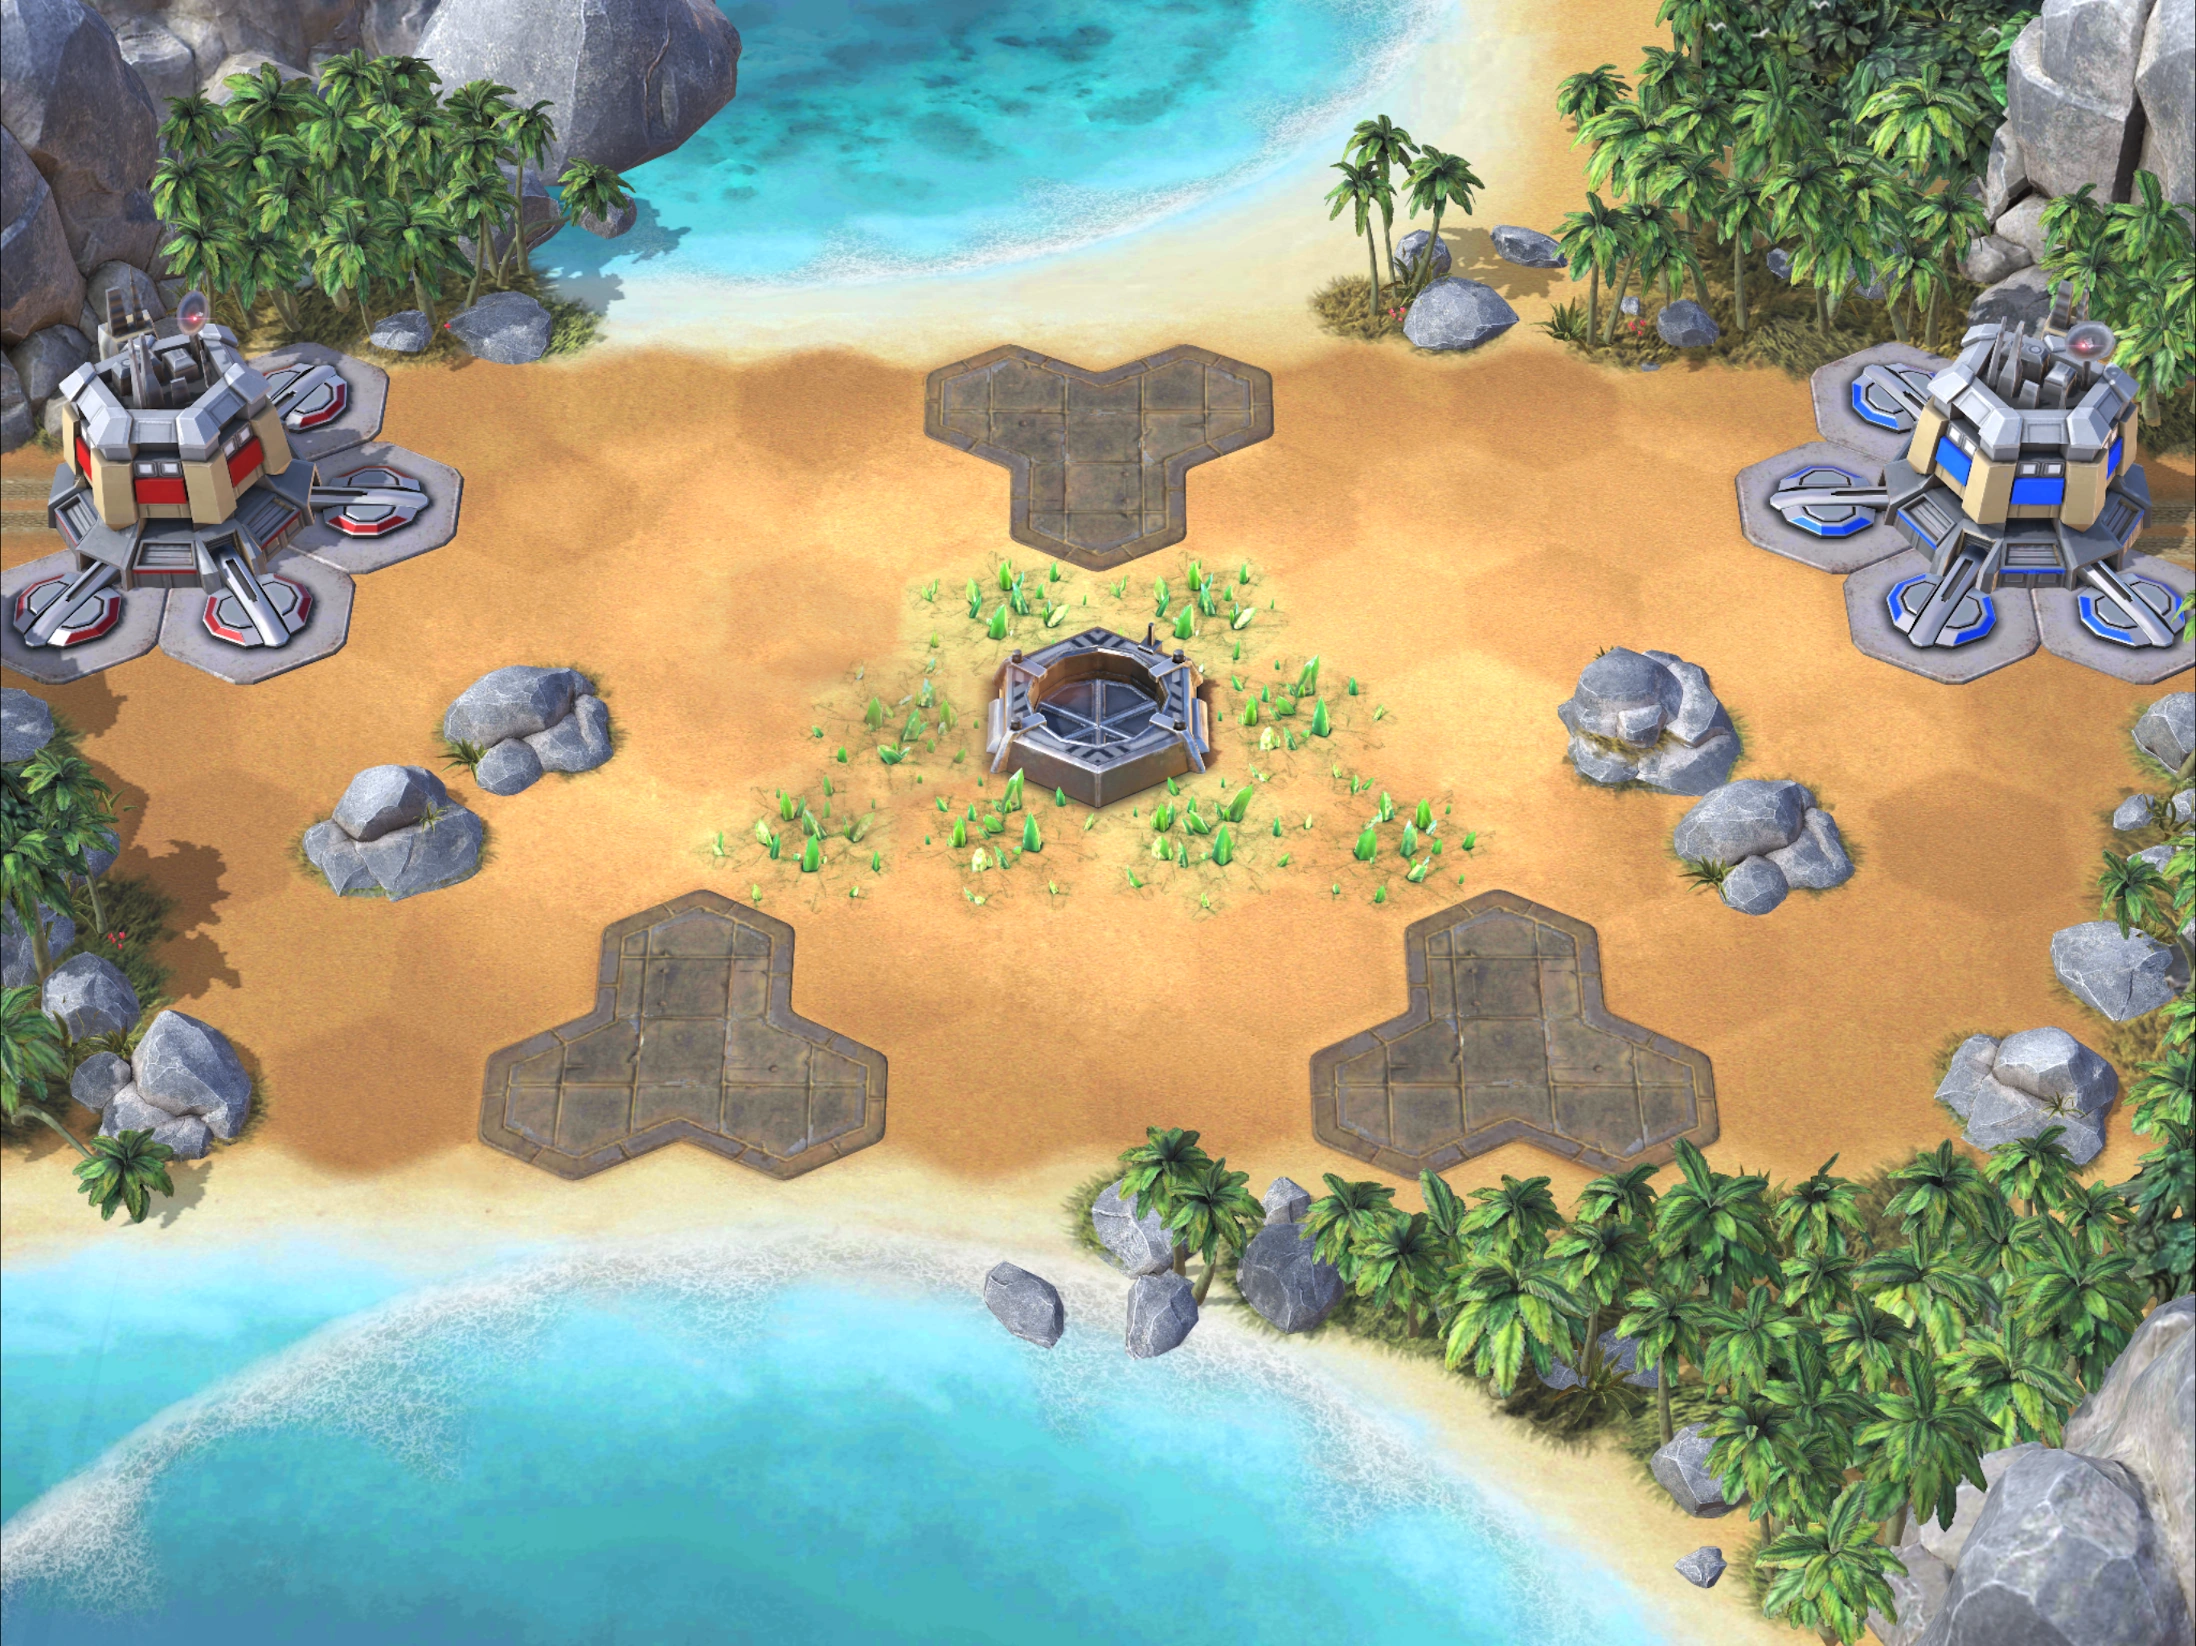
All maps are symmetrical, have the height of 7 tiles and width of 9 tiles in the edges. Available maximum width depends on the map.
Flatland
![]() Can be traversed and occupied by all unit types.
Can be traversed and occupied by all unit types.
Tiberium
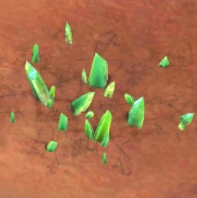

Tiberium crystals on map
![]() Each side of the map has four Tiberium patches. When harvested, it increases the Tiberium income and can be minded for a 100 seconds, after it is depleted, it changes to a flatland. Tiberium fields damage infantry units 5 HP per second.
Each side of the map has four Tiberium patches. When harvested, it increases the Tiberium income and can be minded for a 100 seconds, after it is depleted, it changes to a flatland. Tiberium fields damage infantry units 5 HP per second.
Location of the Tiberium on the map influences the Harvester safety. Factors that can influence the Harvester safety:
- if Tiberium is close to the spawn point, new units can quickly reach the Harvester to defend it;
- if Tiberium is near the pads, Harvesters are threatened by the units that contest those pads;
- if Tiberium is at the edges of the map, it's easier to defend, because enemy units can't attack Harvesters while at the same time avoiding defending units.
Compare relatively safe Fortress to the very hostile Middle Oasis.
Obstacles
![]() Obstacles impede movement and firing options of ground vehicles and structures can't be built there. For aircraft obstacles are the same as flatland.
Obstacles impede movement and firing options of ground vehicles and structures can't be built there. For aircraft obstacles are the same as flatland.
Obstacles come in two varieties — lakes and rocks. All long range units can shoot over lakes, rocks block straight-line ground-to-ground attacks like Sniper team or Giga-cannon. Rocks don't block any ground-to-air or air-to-ground attacks. GDI hovercraft can treat lakes just like flatland.

Rock
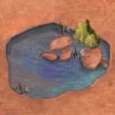
Lake

Silo
Missile silo acts as a rock obstacle, except even aircraft can't fly over it. On the minimap it's designated as a missing tile in the middle of the map.

Nuclear silo

Pads
![]() Pads are similar to the flatland, except structures can't be built on them. A single pad can span three or four tiles.
Pads are similar to the flatland, except structures can't be built on them. A single pad can span three or four tiles.
Base
![]()
![]() Base takes up 5 tiles and behaves like a tall structure — it can be targeted, but no unit can move through it.
Base takes up 5 tiles and behaves like a tall structure — it can be targeted, but no unit can move through it.
Spawn point
Tile near the base where the new units appear. Spawn point is not visible in the minimap, but in game is indicated by a damaged flatland tile.
Map analysis basics
Alphabetical index
To view full map image, click on the minimap.


