mNo edit summary |
mNo edit summary |
||
| Line 1: | Line 1: | ||
| − | {{Games| |
+ | {{Games|RA1}} |
| − | {{ |
+ | {{WarBox |
| − | |name |
+ | |name = Guard Duty |
| − | | |
+ | |prev = [[Lesson in Blood]] |
| − | | |
+ | |next = [[Covert Cleanup]] |
| − | | |
+ | |image = <gallery> |
| + | RA1_SCU02EA_Map.png|North |
||
| − | |env = Temperate |
||
| + | RA1_SCU02EB_Map.png|South |
||
| ⚫ | |||
| + | RAS02.png|Selection |
||
| − | |players = 2 |
||
| + | </gallery> |
||
| − | |tileset = |
||
| − | | |
+ | |imgdesc = |
| + | |conflict = [[Second World War]] |
||
| − | |game = {{GL|Yuri's Revenge}} |
||
| − | | |
+ | |date = |
| + | |place = Oder-Neisse river line |
||
| − | |internalname = |
||
| − | | |
+ | |result = Soviet victory |
| + | |side1 = {{Subfaction|USSR|RA1}} |
||
| + | |side2 = {{Subfaction|Allies|RA1}} |
||
| + | |goal1 = Destroy all Allied forces in the area |
||
| + | |goal2 = Destroy the Soviet forward command HQ |
||
| + | |commanders1 = {{Flag|USSR|RA1}} [[Soviet Commander (Red Alert 1)|Soviet Commander]] |
||
| + | |commanders2 = {{Flag|Allies|RA1}} Unknown |
||
| + | |forces1 = Soviet border forces |
||
| + | * [[Rifle infantry]] |
||
| + | * {{L|Grenadier|Red Alert}}s |
||
| + | * [[Yak]]s |
||
| + | |forces2 = German border forces |
||
| + | * [[Rifle infantry]] |
||
| + | * {{L|Ranger|Red Alert}}s |
||
| + | * {{L|Pillbox|Red Alert 1}}es |
||
| ⚫ | |||
| + | |transcript = Transcript:Guard Duty |
||
}} |
}} |
||
| + | {{NonCanonCamp|Soviet|RA1}} |
||
| − | '''Hail Mary''' is a two player skirmish map for {{GL|Yuri's Revenge}}. |
||
| + | {{Quote|Tomorrow, the attack on [[Germany]] begins, but today, we must protect our facility from [[Allies|Allied]] attacks. Keep the Command Center intact at all costs, and destroy any Allied fortification you might find.|Mission briefing}} |
||
| + | '''Guard Duty''' is the second mission in the [[Soviet]] campaign of ''[[Command & Conquer: Red Alert|Red Alert]]''.<ref name="RA1_Soviet2">Westwood Studios, ''[[Command & Conquer: Red Alert]]''. Soviet mission 2: "Guard Duty".</ref> |
||
| − | == |
+ | ==Background== |
| + | [[Stalin]]'s dream of conquering [[Europe]] was about to begin. The Soviet military had started mobilizing for the invasion of Western Europe, but needed more time. Knowing that the [[Allies]] could hardly miss a Soviet build-up at the German-Polish border, Commander [[Kukov]] called upon an [[Soviet Commander (Red Alert 1)|up-and-coming Soviet commander]] to guard the bridges that were key to the Soviet invasion of [[Germany]]. The mission was to defend the Soviet command post at one of the two bridges, and eliminate all the Allied forces guarding their side of the bridge. |
||
| − | * Climate Type: Temperate |
||
| − | * Water: No |
||
| − | * Garrisonable Structures: No |
||
| − | * Number of Ore Fields: 4 |
||
| − | * Number of Gem Fields: 1 |
||
| − | * Number of [[Tech Outpost|Outposts]]: 0 |
||
| − | * Number of [[Tech Oil Derrick (Red Alert 2)|Oil Derricks]]: 12 |
||
| − | * Number of [[Tech Machine Shop|Machine Shops]]: 0 |
||
| − | * Number of [[Tech Hospital (Red Alert 2)|Hospitals]]: 0 |
||
| − | * Number of [[Tech Airport (Red Alert 2)|Air Fields]]: 0 |
||
| − | * Number of [[Tech Secret Lab|Secret Labs]]: 0 |
||
| − | == |
+ | ==Walkthrough== |
| + | The player must defend the command center from allied ranger and infantry attacks. The player gets only two airfields and two yaks so don't let them be destroyed or the player will have no air support. Get rifle infantry and grenadiers to deal with the allies. Get the Yaks to hit them from the air and once all allied units and structures are destroyed the mission is a win. |
||
| − | The map takes place in a stadium that is surrounded by car parks in the north-west, south-west, south-east and north-east. On these, there are two ore fields in both the south-west and north-east positions. They also have two [[Tech Oil Derrick (Red Alert 2)|Tech Oil Derricks]] near them. Four of the Tech Oil Derricks each are located in both the south-east and north-west positions. Near them are two dumpsters each. In the stadium, the grass surrounds the top bit and it is inside the stadium grounds at the bottom. Two ore fields sit near the players' position, while a gem field is sitting in the middle of the battlefield. |
||
| + | ==Beta variants== |
||
| − | With [[Civilians]] watching from the stand to see which faction wins, at least eight flags surround the stadium grounds near the stands. The south-west player's position have the flags of [[Germany]], the [[United States of America (Red Alert)|United States of America]] and [[Libya]] behind him or her as the player. The north-east player's position have the flags of [[Cuba]], the [[Union of Soviet Socialist Republics|Soviet Union]] and [[France]]. At the points of where some female cheerleaders are is the flags of both the [[Republic of Korea]] and [[Great Britain]]. Only one flag is missing from the map: the flag of [[Iraq]]. |
||
| + | The [[Red Alert beta|v0.09c beta]] of ''Command & Conquer: Red Alert'' features two playable variants of this mission. Variant A only has minor differences compared its final version, such as an additional ore field south of the Soviet base. The Allies are also supposed to be reinforced by a Destroyer. However, the trigger to call in the ship is missing, and the Destroyer can’t reach the waypoint it is supposed to end up at. The B variant differs substantially from both final maps. This map is conceptually the same, but the player starts with a Barracks and a Refinery. No Airfields are present, nor does the player have access to them. This setup matches that of the cutscene that plays prior to the mission. There is only one river crossing via a central island with three bridges. The difficulty of the map is much higher, with the Allies having access to more Pillboxes and APCs. The B variant appears to be a very early map used for testing, as it contains a lot of different team types with instructions such as taking different formations, including commands that don’t work in the final version of the game. |
||
| − | == |
+ | ==Gallery== |
| + | <gallery> |
||
| − | * The name of the map is a reference to the football term with the same name, which is fitting for the map due to its design that resembles a football field. |
||
| + | File:RAS02.png|Mission selection screen |
||
| + | File:Scu02ea.png|Variant A of the mission. |
||
| + | File:Scu02eb.png|Variant B. |
||
| + | File:Scu02ea beta.png|v0.09c beta variant A of the mission. |
||
| + | File:Scu02eb beta.png|v0.09c beta variant B. |
||
| + | </gallery> |
||
| − | == |
+ | ==Videos== |
| + | <center> |
||
| − | * {{YRMapDB|92|Hail Mary}} |
||
| + | {{YouTube|NGLjSMpzS-Q|Briefing}} |
||
| − | {{Red Alert 2 skirmish maps|game=Yuri's Revenge}} |
||
| + | {{YouTube|z8pTz2Qxem8|Soviet emblem (mission accomplished cutscene)}} |
||
| + | {{YouTube|cO-iviEqOqk|Soviet 2A - Guard Duty (North)}}{{YouTube|Yfyy4iZ363g|Soviet 2B - Guard Duty (South)}} |
||
| + | </center> |
||
| + | |||
| + | ==References== |
||
| + | <references/> |
||
| + | {{Red Alert 1 Missions|faction=Soviet}} |
||
Revision as of 02:53, 26 August 2021
| The following is based on the Soviet campaign of Red Alert and might contradict canon. |
| “ | Tomorrow, the attack on Germany begins, but today, we must protect our facility from Allied attacks. Keep the Command Center intact at all costs, and destroy any Allied fortification you might find. - Mission briefing |
” |
Guard Duty is the second mission in the Soviet campaign of Red Alert.[1]
Background
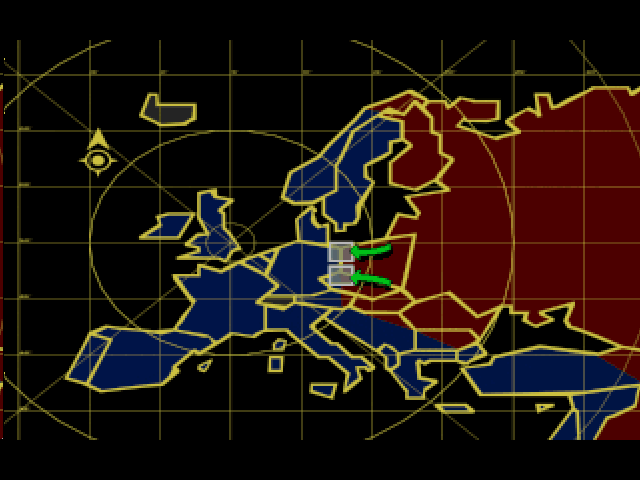
Stalin's dream of conquering Europe was about to begin. The Soviet military had started mobilizing for the invasion of Western Europe, but needed more time. Knowing that the Allies could hardly miss a Soviet build-up at the German-Polish border, Commander Kukov called upon an up-and-coming Soviet commander to guard the bridges that were key to the Soviet invasion of Germany. The mission was to defend the Soviet command post at one of the two bridges, and eliminate all the Allied forces guarding their side of the bridge.
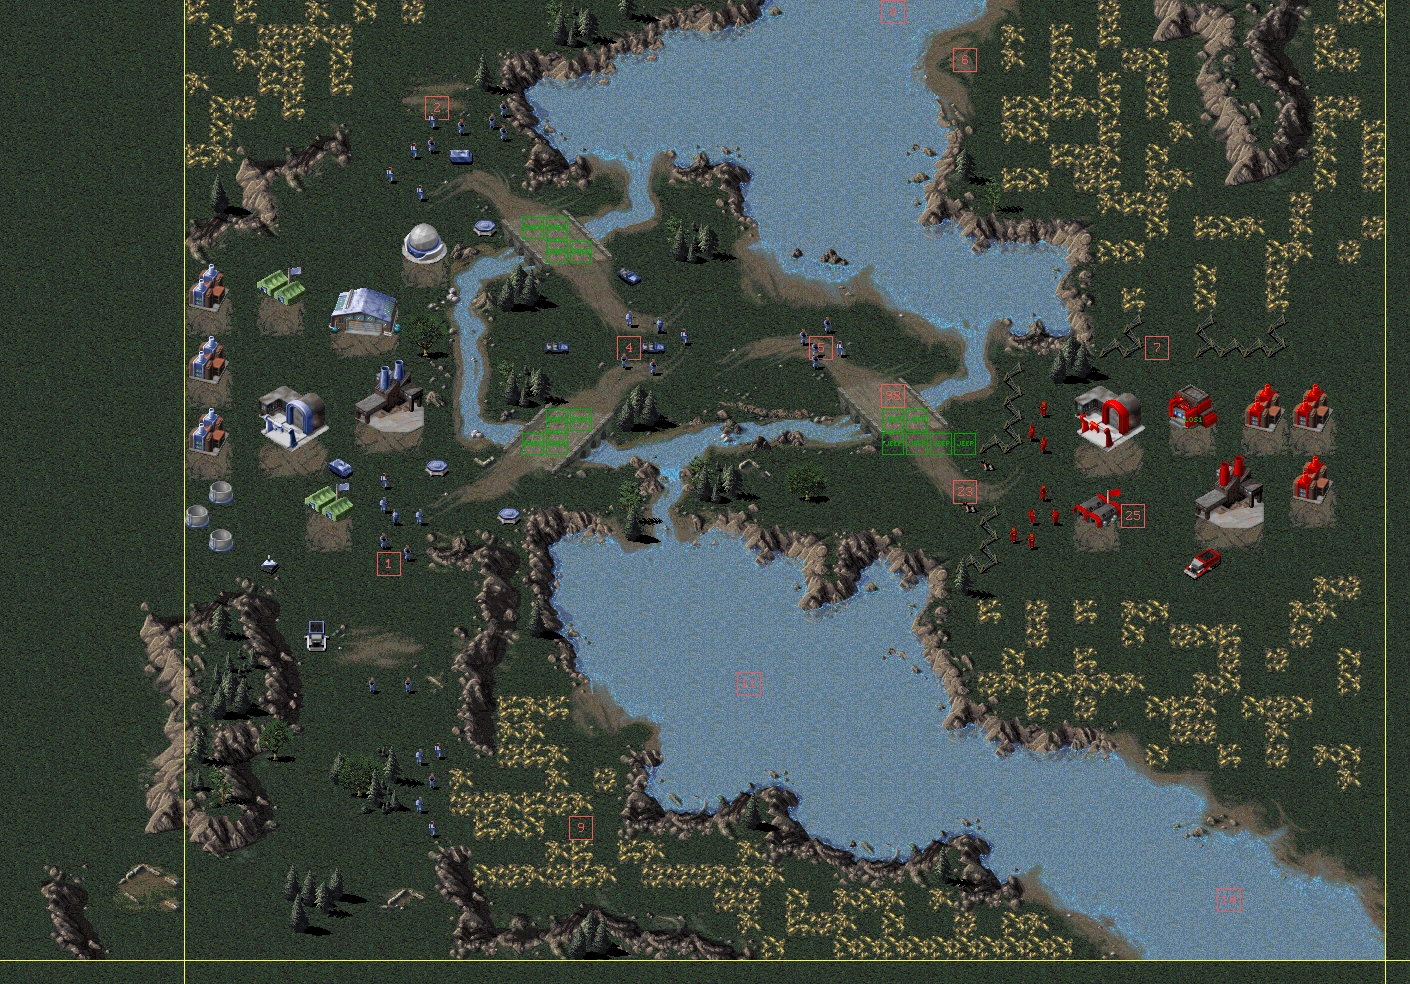
Walkthrough
The player must defend the command center from allied ranger and infantry attacks. The player gets only two airfields and two yaks so don't let them be destroyed or the player will have no air support. Get rifle infantry and grenadiers to deal with the allies. Get the Yaks to hit them from the air and once all allied units and structures are destroyed the mission is a win.
Beta variants
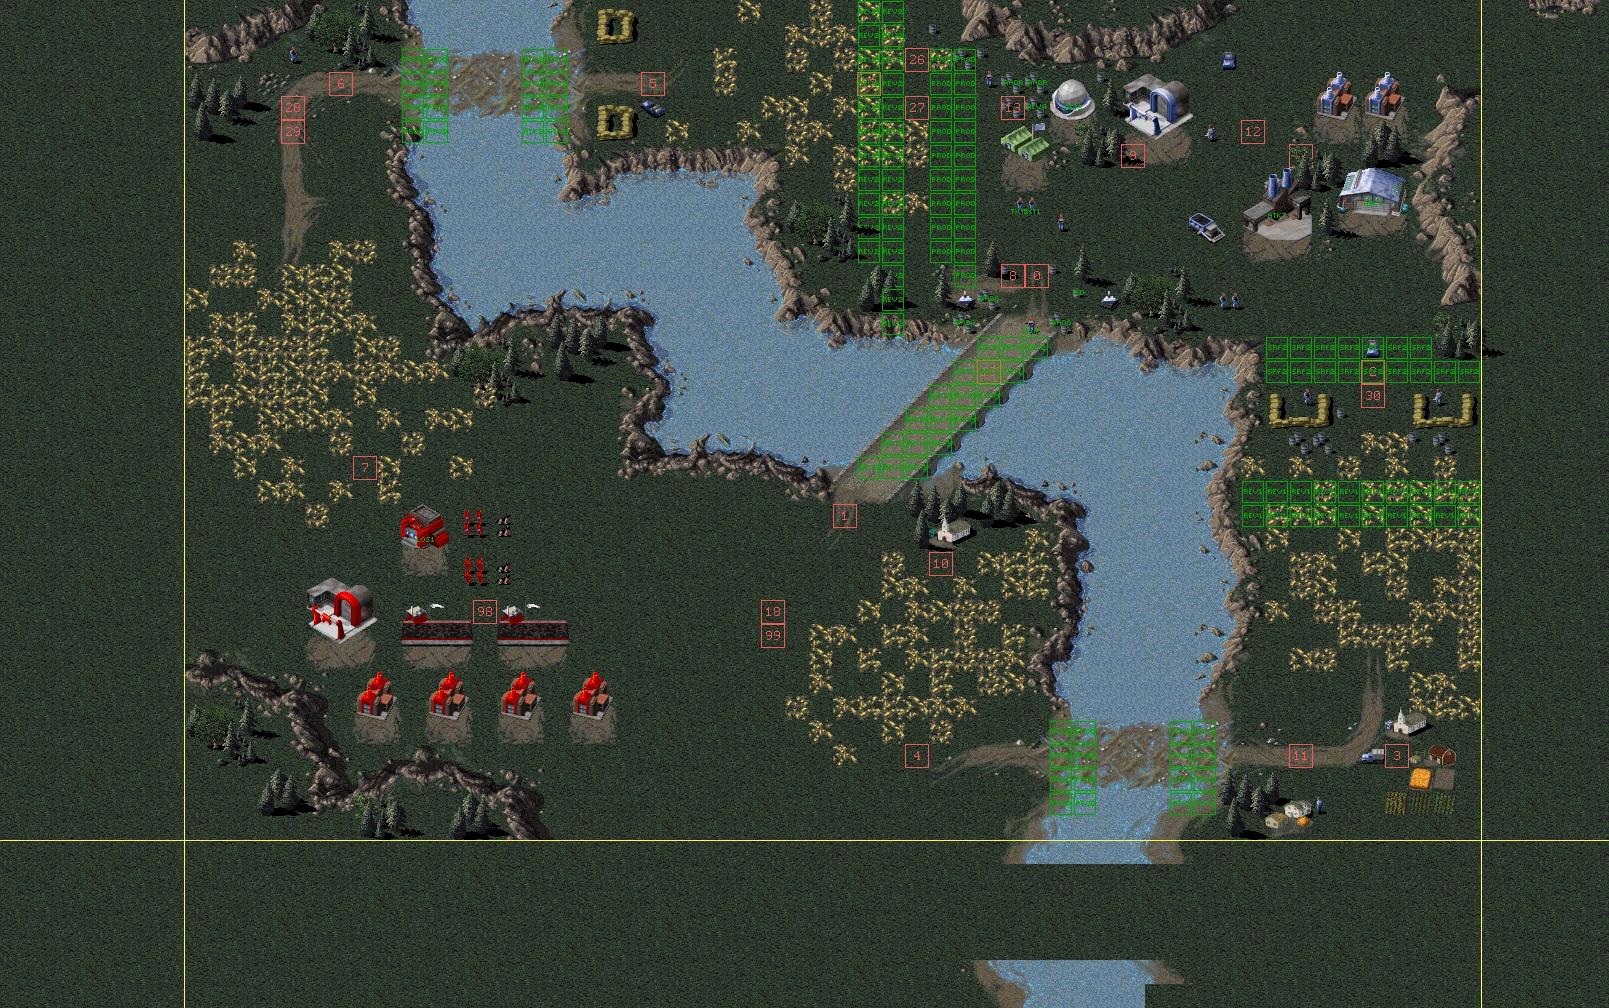
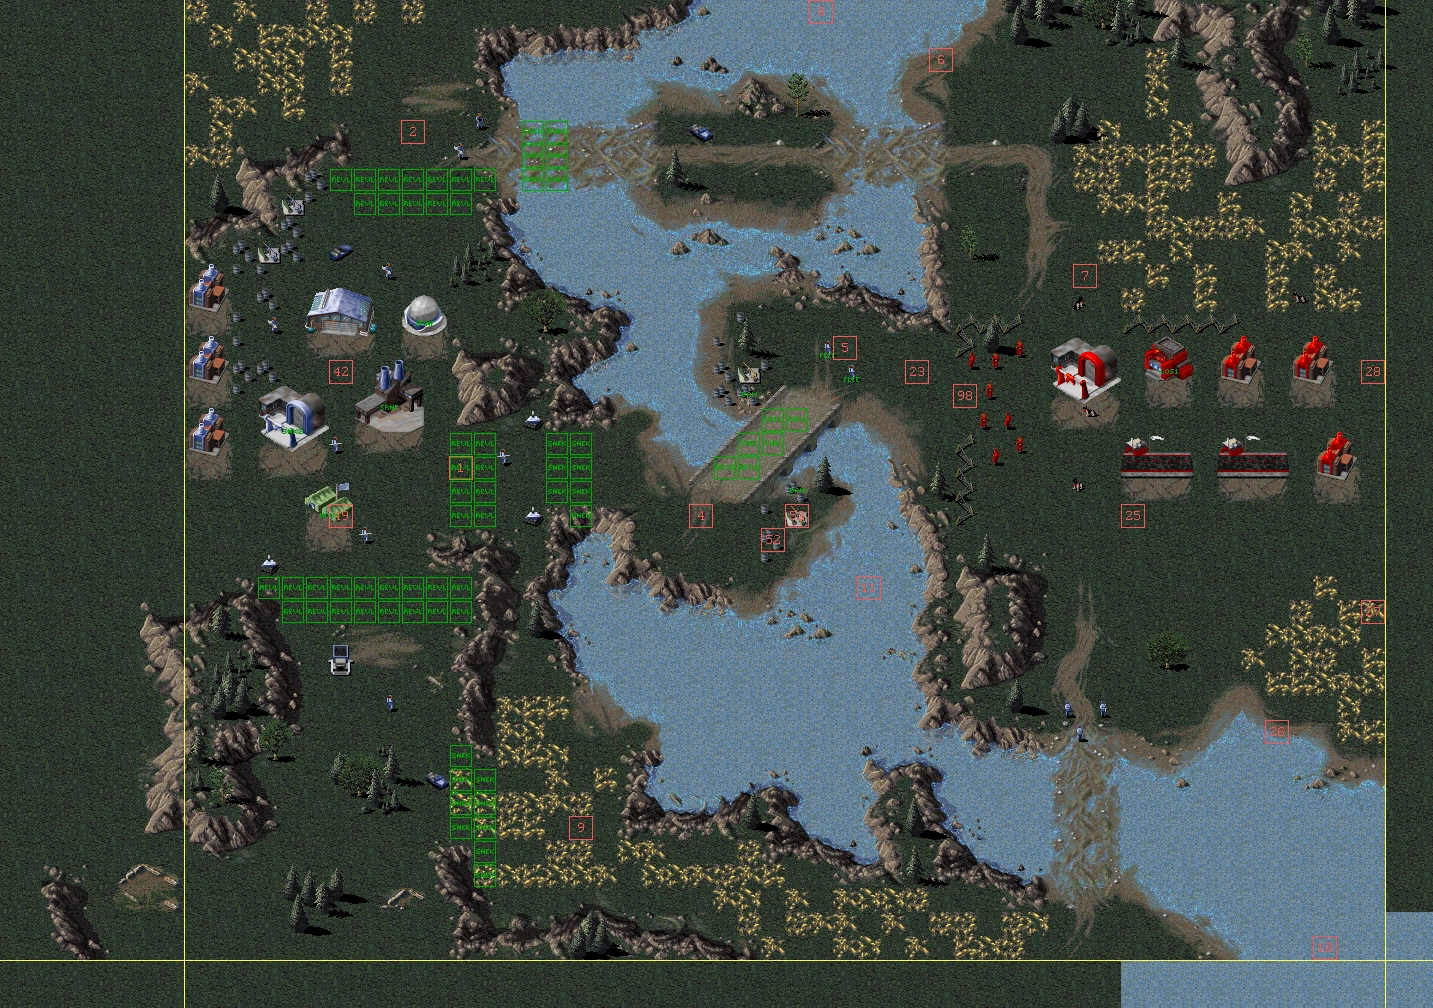
The v0.09c beta of Command & Conquer: Red Alert features two playable variants of this mission. Variant A only has minor differences compared its final version, such as an additional ore field south of the Soviet base. The Allies are also supposed to be reinforced by a Destroyer. However, the trigger to call in the ship is missing, and the Destroyer can’t reach the waypoint it is supposed to end up at. The B variant differs substantially from both final maps. This map is conceptually the same, but the player starts with a Barracks and a Refinery. No Airfields are present, nor does the player have access to them. This setup matches that of the cutscene that plays prior to the mission. There is only one river crossing via a central island with three bridges. The difficulty of the map is much higher, with the Allies having access to more Pillboxes and APCs. The B variant appears to be a very early map used for testing, as it contains a lot of different team types with instructions such as taking different formations, including commands that don’t work in the final version of the game.
Gallery

Mission selection screen
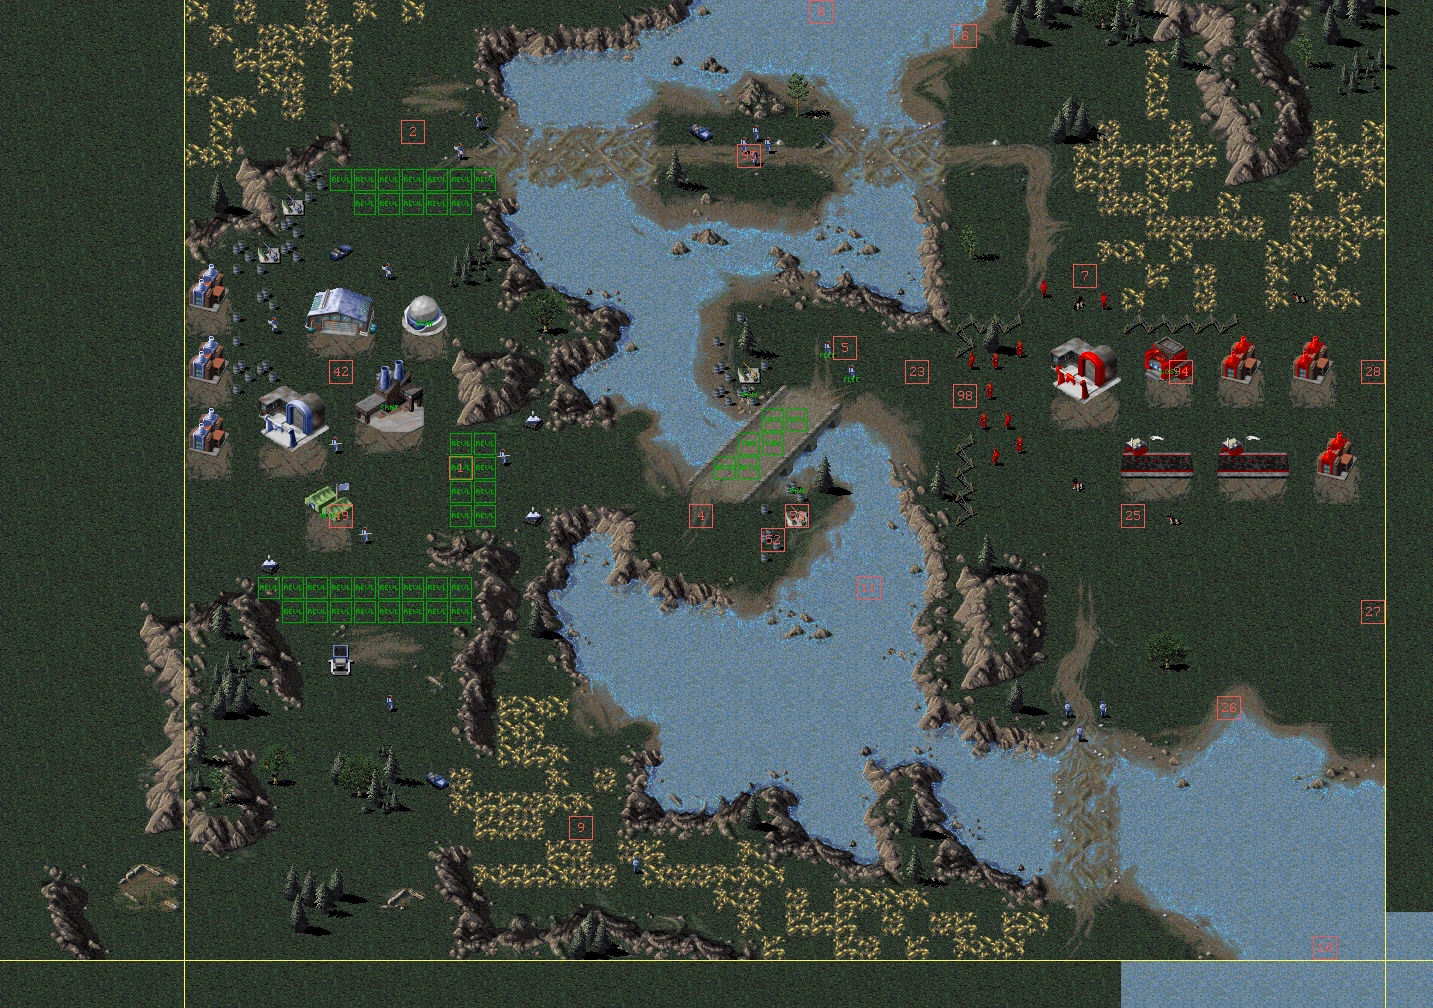
Variant A of the mission.
Variant B.
v0.09c beta variant A of the mission.
v0.09c beta variant B.
Videos
References
- ↑ Westwood Studios, Command & Conquer: Red Alert. Soviet mission 2: "Guard Duty".
| ||||||||||||||||||||||||||||||